
We decided to take some fast step by step pictures to post it at our facebook. Also, I'll share them with you on my blog too!
This week we had not so much time to work on it. Assembling and primming so big piece kept us busy a couple of days, but anyway we could do some interesting things.

Do you want to read it?


STEP 2: provisional assembling and black primming using Harder & Steenbeck Airbrush and Josonja's Folk Art Studio Inc. Carbon Black
STEP 3: Provisional assembling and cenital primming using Harder & Steenbeck Airbrush andJosonja's Folk Art Studio Inc. mixtures of Carbon Black + Titanium White

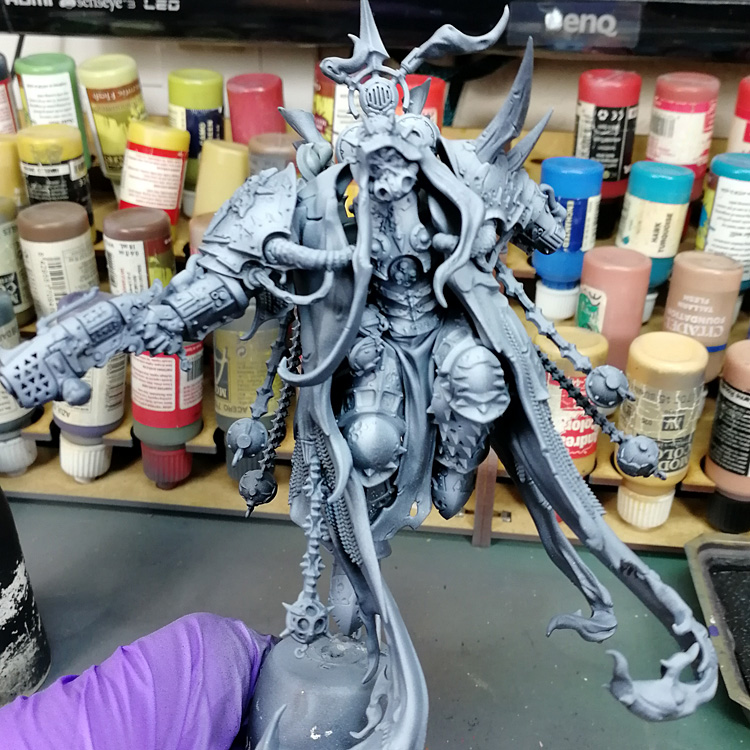
STEP 4: back to spare parts to finish airbrushing primming with Harder & Steenbeck Airbrush andJosonja's Folk Art Studio Inc. Carbon Black & Titanium White

STEP 5: First color basecoat respecting the previous Grisaille work using Harder & Steenbeck Airbrush and Scale 75 Sherwood Green + The Army Painter Necrotic Flesh

STEP 6: Forcing lights using Harder & Steenbeck Airbrush and The Army Painter Necrotic Flesh +Josonja's Folk Art Studio Inc. Titanium White

STEP 7: Forcing Intermediate Shadows using Harder & Steenbeck Airbrush and The Army PainterMatt Black + Josonja's Folk Art Studio Inc. Brown Earth


STEP 9: Second color basecoat respeting the previous work using Harder & Steenbeck Airbrush and Scale 75 Sherwood Green + The Army PainterNecrotic Flesh + Green Tone ink (to improve saturation)

STEP 10: Forcing maximum lights with Harder & Steenbeck Airbrush using Acrylicos Vallejo Ivory + Pale Grey Blue (to create a temperature contrast)

STEP 11: Forcing maximum shadows with Harder & Steenbeck Airbrush using The Army Painter Matt Black + Games Workshop Black Ink (old one)

STEP 12: Third color basecoat respeting the previous work with Harder & Steenbeck Airbrushusing Scale 75 Sherwood Green + The Army PainterNecrotic Flesh + Green tone Ink

STEP 13: Intermediate shadow tones with Harder & Steenbeck Airbrush using Acrylicos Vallejo Orange Brown + The Army Painter Chaotic Red + Scale 75Inktense yellow + Inktense red

STEP 14: Secondary source of light (cold this time) with Harder & Steenbeck Airbrush using The Army Painter Hydra Turquoise + Acrylicos Vallejo Model Air Blue

STEP 15: Red tones with Harder & Steenbeck Airbrush using Scale 75 Blood Red + Inktense red

STEP 15 (bis): Here we can see how it looks after Airbrush work. Now we can start brushwork.

STEP 16: My green Pallete: The Army PainterNecrotic Flesh, Acrylicos Vallejo Ivory, Scale 75Sherwood Green, Acrylicos Vallejo Orange brown, The Army Painter Chaotic Red and Matt Black, Andrea Miniatures Black, Acrylicos Vallejo Dark Blue Sea and Games Workshop Hawk Turquoise

STEP 17: Using Windsor & Newton brushes and a lot of glazes, I powered the previous work. Lately I started to paint outlines and painting Scratches

STEP 17 (bis): I keep doing the same

STEP 18: In the same way I powered the secondary light increasing the turquoise color and adding some purple.

STEP 19: I keep doing this work in the leg too

STEP 19 (bis): another view of the leg.
Next week more and (hopefully) better
Hola maestro, mi proyecto de año nuevo no es otro que Mortarion, así que voy a a seguir tu P&P a ver si consigo que me quede una septima parte de lo chulo que te quedó a ti. Un enorme abrazo y que tengas un buen 2020, ya te iré contando.
ResponderEliminar